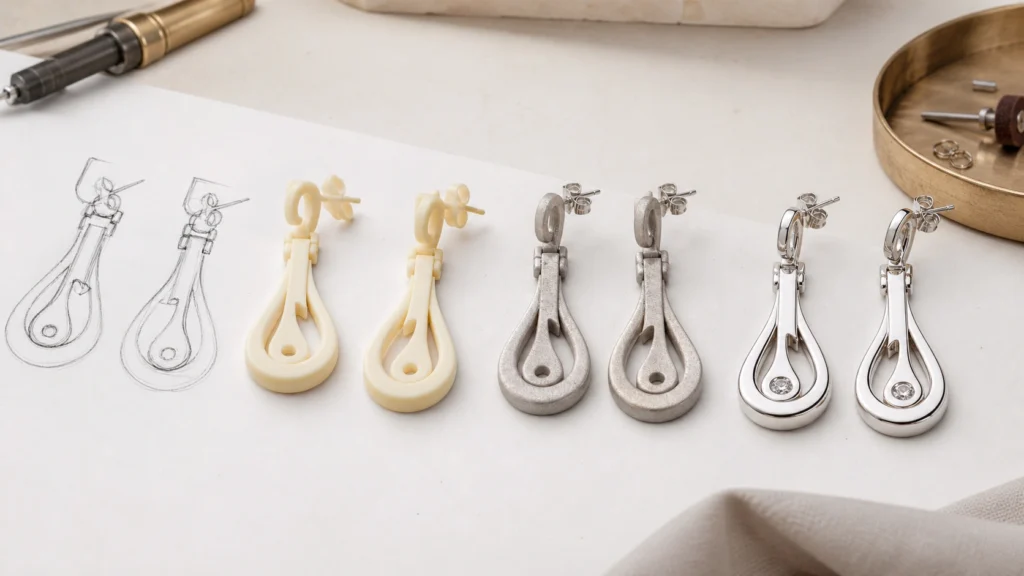
A custom earring sample should convert a design idea into a physical, documented reference that both the buyer and manufacturer understand. The process normally moves through a design brief, feasibility review, CAD or technical drawing, an appropriate prototype route, a finished sample, revision, and written approval. The exact route depends on the earring construction, material, finish, stones, tooling, and project requirements.
The purpose is not merely to produce one attractive pair. Sampling is where you confirm what will be made, how important details will be judged, and which approved version will guide the next production stage.
What an Approved Earring Sample Actually Means
鈥淎pproved鈥?can describe several different checkpoints. Treating them as one decision creates avoidable ambiguity:
- Concept approval confirms the design direction and commercial fit.
- CAD or drawing approval confirms dimensions, proportions, construction, stone positions, and other technical details represented in the file.
- Prototype approval confirms the form, scale, or assembly concept that the prototype was made to test.
- Finished sample approval confirms the physical product against the agreed specification.
- Production authorization is the buyer’s written instruction to proceed under the agreed commercial and technical terms.
A CAD render is not a substitute for a finished sample. It can show geometry from multiple views, but it cannot fully demonstrate the tactile feel of a closure, the balance of a drop, the actual finish color, or the interaction between the earring and its packaging. Custom design workflows commonly separate CAD review, prototype review, and final approval for this reason, as shown in Bellora Jewelry’s design process.
The Custom Earring Sampling Process at a Glance
| Stage | What the buyer provides or reviews | Approval output |
|---|---|---|
| 1. Design brief | References, dimensions, material, finish, stones, findings, branding, target market, and intended quantity | Complete development input |
| 2. Feasibility review | Proposed construction, manufacturing route, risk points, and missing information | Working specification |
| 3. CAD or technical drawing | Front, side, back, scale, thicknesses, settings, post or clasp details, and logo position | Approved digital definition |
| 4. Prototype route | Resin, wax, master, fit/form model, or direct finished sample as appropriate | Physical form checkpoint |
| 5. Finished sample | Dimensions, pair consistency, function, finish, assembly, stones, markings, and packaging interface | Review findings |
| 6. Revision | One consolidated list tied to a sample version and supporting photos | Corrected specification or resample |
| 7. Written sign-off | Approved sample identity, documents, exceptions, and next-stage terms | Controlled production reference |
Not every design needs every prototype type. A simple style may move from an approved drawing to a finished sample, while a complex earring may benefit from a resin or wax model before metal sampling. Confirm the route after a feasibility review.
Step 1: Turn the Design Idea into a Complete Sample Brief
A mood board or reference photo can communicate style, but it does not define a product. Start with a brief that turns inspiration into decisions.
Include:
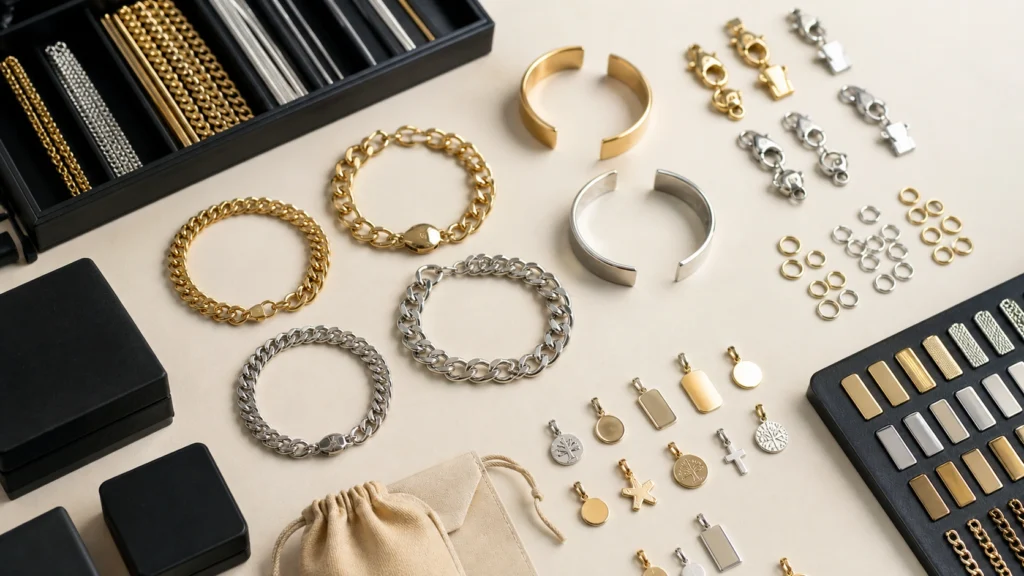
- earring type, such as stud, hoop, huggie, drop, threader, ear cuff, or clip-on;
- front-view dimensions and side profile;
- target base material and any acceptable alternative;
- surface finish and plating color reference;
- stone, pearl, enamel, or other decorative components;
- post, back, hook, hinge, latch, jump ring, or clip construction;
- pair weight or comfort objective when it matters to the design;
- logo, hallmark, engraving, or marking position;
- left/right orientation and whether the pair is mirrored;
- target market and any testing or labeling requirements that must be confirmed;
- packaging interface, especially card holes, insert slots, pouch size, and box clearance;
- expected order quantity and target launch timing for feasibility and planning.
Use dimensions instead of visual phrases such as 鈥渟mall,鈥?鈥渓ight,鈥?or 鈥渄elicate.鈥?If several references conflict, label which one controls the silhouette, finish, stone layout, closure, and scale. A manufacturer should not have to guess which detail has priority.
For product-category context before preparing the brief, review Jinnuo Jewelry’s custom earring options. Material, testing, MOQ, cost, tooling, and timing should still be confirmed for the specific design.
Step 2: Confirm Feasibility and Freeze the Working Specification
During feasibility review, the design is translated into a construction that can be sampled. This review may identify thin sections, inaccessible polishing areas, fragile connections, heavy drops, unsuitable stone seats, closure interference, or details that cannot hold their intended appearance after casting and finishing.
The output should be a working specification, not a collection of messages scattered across email and chat. Give the document a version or date, record open questions, and list any accepted substitutions. If the manufacturer recommends a change, capture both the reason and the resulting specification.
鈥淔reeze鈥?does not mean the design can never change. It means everyone knows which version is being priced, modeled, and sampled. Later changes can then be evaluated for their effect on CAD, tooling, material, cost, and schedule.
Step 3: Review the CAD or Technical Drawing before Tooling
CAD review is a technical approval, not just a beauty check. Ask for views that reveal the construction, then compare the file with the written brief.
For earrings, check:
- overall height, width, depth, and pair scale;
- wall thicknesses and transitions at narrow points;
- post diameter, post length, and its angle relative to the front;
- back, hinge, latch, hook, or leverback geometry;
- jump-ring orientation and clearance on moving drops;
- stone size, seat, prong or bezel position, and spacing;
- front-to-back balance and the likely wearing orientation;
- mirrored details and left/right consistency;
- logo or marking size, depth, direction, and visibility;
- areas that need polishing, plating coverage, or assembly access.
If you do not have internal CAD capability, a 3D jewelry design service can help translate approved requirements into a production-oriented model. The exact file deliverables, ownership, revision scope, and approval responsibilities should be agreed for the project.
Approve the CAD in writing and identify the file version. Do not approve from one perspective view when the back, side, connection, or closure determines whether the earring will function.
Step 4: Choose the Right Prototype or Sample Route
The most useful prototype is the one that answers the next unresolved question.
- A visual or resin prototype can help evaluate scale, silhouette, spacing, and form before a finished metal sample.
- A wax or master-pattern stage may be part of a casting and mold route.
- A fit or function model focuses on assembly, movement, clearance, or closure behavior.
- A finished metal sample is needed when the decision depends on the actual material, assembly, stones, polishing, plating, or wearing behavior.
Do not assume a resin model proves the strength of metal components or the feel of a finished closure. Likewise, a polished sample cannot correct a basic proportion error efficiently if the CAD was approved without a careful dimensional review.
The route also changes with construction. Cast studs, formed hoops, soldered assemblies, stone-set drops, and stamped components do not necessarily follow identical steps.
Step 5: Produce and Inspect the Physical Sample
After the relevant digital or prototype checkpoint is approved, the manufacturer produces the sample using the agreed route. Depending on the design, work may include pattern preparation, molding, wax inspection, casting, forming, soldering, assembly, stone setting, polishing, cleaning, plating, and final inspection.
These stages should be treated as route-dependent, not universal promises. The TESDA Jewelry Making (Fine Jewelry) NC II guide, for example, identifies wax-pattern defect checks, predetermined plating requirements, and color-consistency inspection as distinct controls within relevant jewelry-making processes.
Ask the supplier to identify the sample version and disclose any known deviation from the approved file or specification before shipment. A sample that quietly contains a substitute component or temporary finish cannot be approved intelligently.
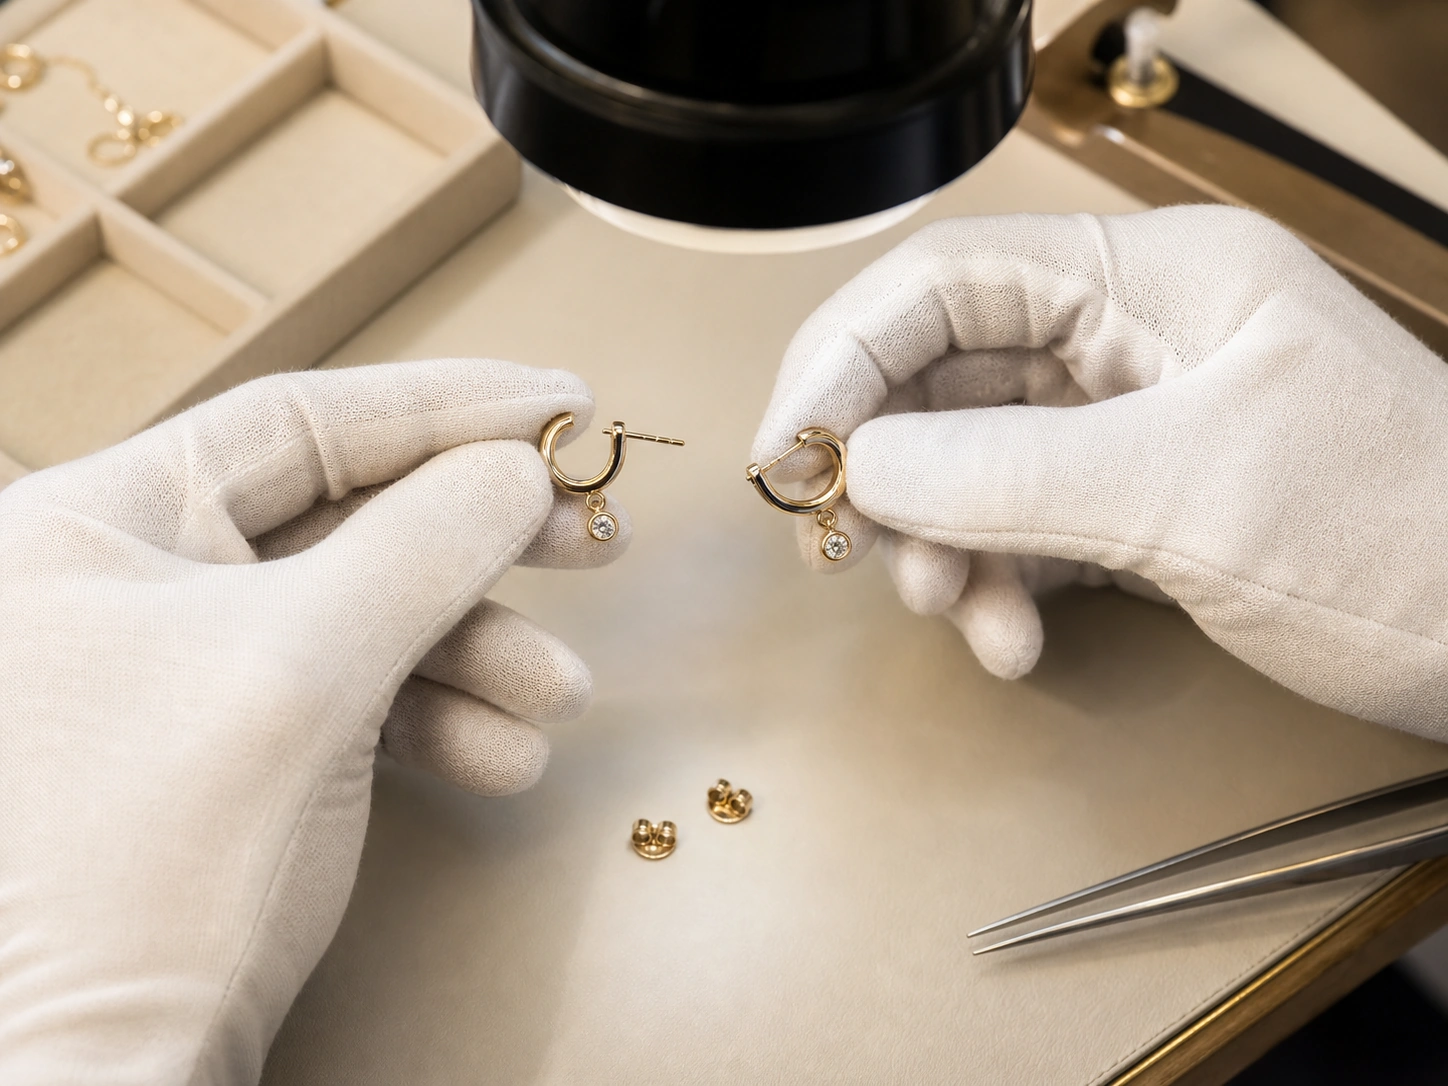
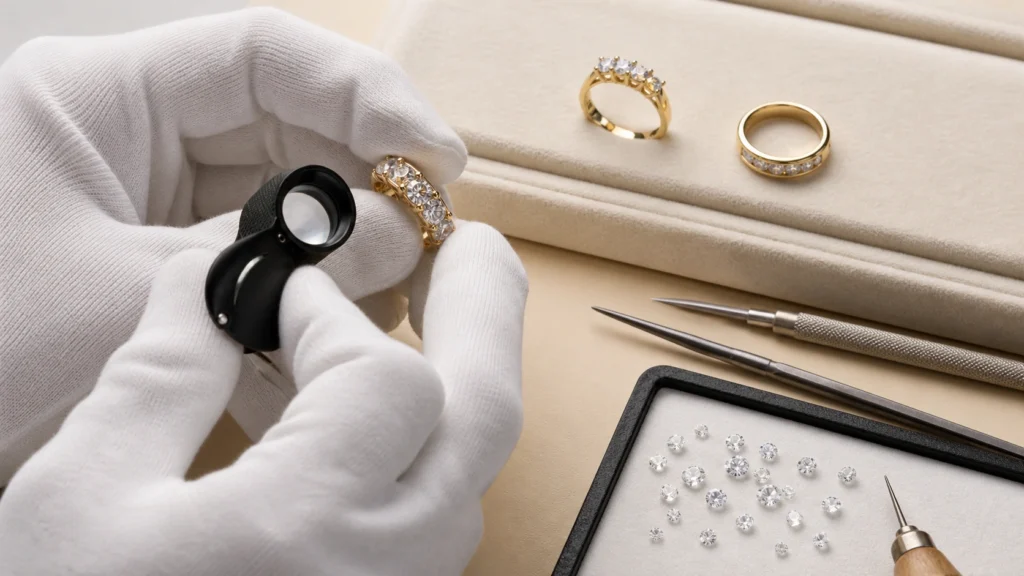
How to Review a Custom Earring Sample
Review the sample in a fixed order and record the result. Industry sample guidance commonly includes material, plating color, stone security, weight, packing, surface, closure, size, and count checks; see this jewelry sample policy and checklist.
| Checkpoint | What to compare | What to record before approval |
|---|---|---|
| Identity | Sample code, CAD version, specification version, and pair count | Exact sample under review |
| Dimensions | Height, width, depth, post position, drop length, and key clearances | Measured results and agreed tolerance method |
| Pair consistency | Left/right orientation, symmetry, stone layout, and finish | Photos of both units together |
| Posts and backs | Alignment, usable length, fit, retention, edge condition, and comfort | Back type and any functional issue |
| Hinges and clasps | Opening range, alignment, engagement, release, and repeated operation | Pass, revise, or test required |
| Assembly | Solder joints, jump rings, moving parts, gaps, and interference | Location of every issue |
| Stones or inserts | Count, position, security, level, visible gaps, and consistency | Accepted reference or correction |
| Surface and finish | Polish direction, scratches, pits, plating color, coverage, and pair match | Lighting and color reference used |
| Weight and balance | Pair weight, perceived pull, rotation, and wearing orientation | Accepted result or target change |
| Branding | Logo, engraving, or hallmark position and legibility | Approved orientation and artwork version |
| Packaging fit | Card, pouch, insert, box clearance, product retention, and contact risk | Approved packaging sample/version |

Whenever possible, inspect the sample under consistent neutral lighting and photograph the front, back, side, closure, and any issue area. A phone photo can document location, but color approval should account for lighting, camera, and display differences. If finish color is critical, agree on a physical reference or another controlled approval method.
Do not introduce an arbitrary tolerance after the sample arrives. Dimensional priorities and the method for accepting normal process variation should be agreed with the manufacturer before production.
Step 6: Send One Consolidated Revision List
Scattered feedback produces scattered changes. Send one consolidated revision document for each round.
For every issue, include:
- an issue ID;
- the sample and document version;
- a clear photo with the area identified;
- the current condition;
- the requested result;
- the controlling dimension, reference, or approved artwork;
- whether the issue blocks approval or is a preference.
Avoid instructions such as 鈥渕ake it more premium鈥?or 鈥渇ix the proportion.鈥?State the intended change: move the post, reduce the drop length, increase a clearance, change the back type, match an approved finish reference, or correct the logo orientation.
Ask the manufacturer to confirm which items will be changed, whether the change affects tooling or other specifications, and which items require a new physical sample. Do not assume every correction can be verified by a photo.
Step 7: Approve the Sample in Writing
Final approval should identify exactly what is accepted. Record:
- product name, SKU, and sample version;
- approved CAD, drawing, specification, artwork, and packaging versions;
- base material and agreed finish description;
- approved stones, findings, backs, or closure components;
- dimensions and the agreed acceptance method;
- approved photos or retained physical reference;
- accepted exceptions or known limitations;
- changes that still require confirmation before production;
- date, approver, and authorization for the next stage.
The retained approved sample is often called a reference sample or 鈥済olden sample.鈥?The label alone is not enough. The reference must be connected to controlled documents and protected from undocumented changes. Confirm how the buyer and manufacturer will retain or identify matching references, especially for repeat orders.
If a material, component, plating process, packaging item, or artwork changes after approval, reopen the affected checkpoint. A prior approval does not automatically cover a substituted input.
Common Sampling Mistakes That Create Bulk-Production Risk
- Starting from an ambiguous reference: The manufacturer has to infer scale, material, construction, or finish.
- Approving CAD for appearance only: Hidden post, hinge, setting, and clearance problems remain unresolved.
- Treating a prototype as proof of every attribute: A resin model, master, and finished sample answer different questions.
- Reviewing only the front: Earring comfort and function often depend on the side, back, and closure.
- Giving feedback through multiple channels: Changes lose their version, priority, or controlling reference.
- Approving one good unit without pair review: Mirroring, symmetry, finish match, and left/right orientation may be missed.
- Separating product and packaging development: Posts, drops, stones, and finishes can contact cards, inserts, lids, or pouches.
- Using silent acceptance: Without written sign-off, the approved version and accepted exceptions remain unclear.
- Changing a specification after approval without impact review: Tooling, cost, timing, function, and other dimensions may also change.
A Manufacturer-Ready Sample Approval Checklist
Before authorizing the next stage, confirm:
- The sample and every controlling document have a version.
- The physical sample matches the approved design direction and CAD.
- Key dimensions and acceptance methods are documented.
- [The pair is consistent in orientation, geometry, stones, and finish.
- Posts, backs, hooks, hinges, latches, and moving parts function as intended.
- Edges, joints, settings, and contact points have been reviewed.
- Material, finish, components, branding, and packaging interface are identified.
- Deviations and accepted exceptions are written down.
- Revision feedback was consolidated and closed.
- The retained production reference is clearly identified.
- Any required market-specific testing or documentation is confirmed separately.
- Production authorization states which version may proceed.
Jinnuo Jewelry supports OEM, ODM, and private-label product development in confirmed project scopes. If you are preparing an original earring design, review the Jewelry Sampling Service and send the design brief through the custom jewelry quote request. The sample route, material compatibility, cost, tooling, quantity, testing, and timing should be confirmed after feasibility review.
FAQ
What should I send a manufacturer to start a custom earring sample?
Send a dimensioned sketch or reference, earring type, target material and finish, stone or component details, post or closure type, branding, target market, expected quantity, packaging interface, and the priority of each reference. A CAD file is helpful when available, but a complete brief is still needed.
Is CAD approval enough before bulk earring production?
Usually not when the decision depends on physical finish, closure feel, balance, assembly, stone setting, or packaging fit. CAD approval confirms the digital geometry represented in the file; a finished sample provides a separate physical checkpoint.
Can I change the earring design after approving the sample?
Yes, but the change should be documented and reviewed for its effect on CAD, tooling, dimensions, material, finish, cost, and schedule. The affected features may require a revised sample and new written approval.
Is one approved earring unit enough to approve a pair?
A single unit cannot fully demonstrate pair matching, mirrored orientation, left/right consistency, finish match, or packaging arrangement. Review the actual pair configuration and document how matching will be assessed.